Creating a Document
To start, click the "Documents" tab of a project. You should see a view similar to the screenshot below:
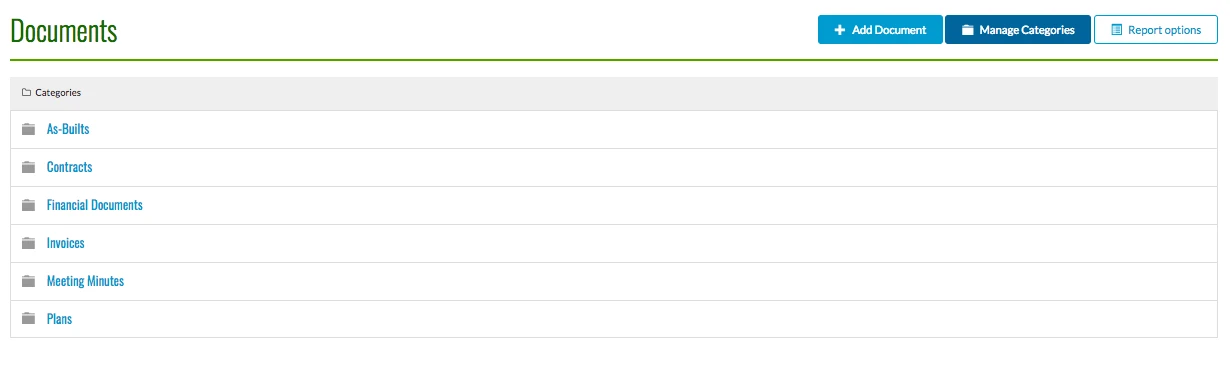
Note - if you have no documents you will see an alert prompting you to add a document.
1) Click "Add Document"
Click the "Add Document" button in the top right corner of the page.
2) Complete Document Fields
Next, enter the document fields:
-
Category: this is the category folder that this document will live in.
-
Name: give the document a title
-
Description: add notes or a short description
-
Starting Document Status: select the starting status for this document
-
Assign this Document: you may assign this document to an existing team member (optional)
-
Make Document Private: this will make the document private to the specific team members you select (optional)
-
Alert Team Members: this will send an email to all selected team members (optional)
Upload a File: you can upload/attach a file for this document.
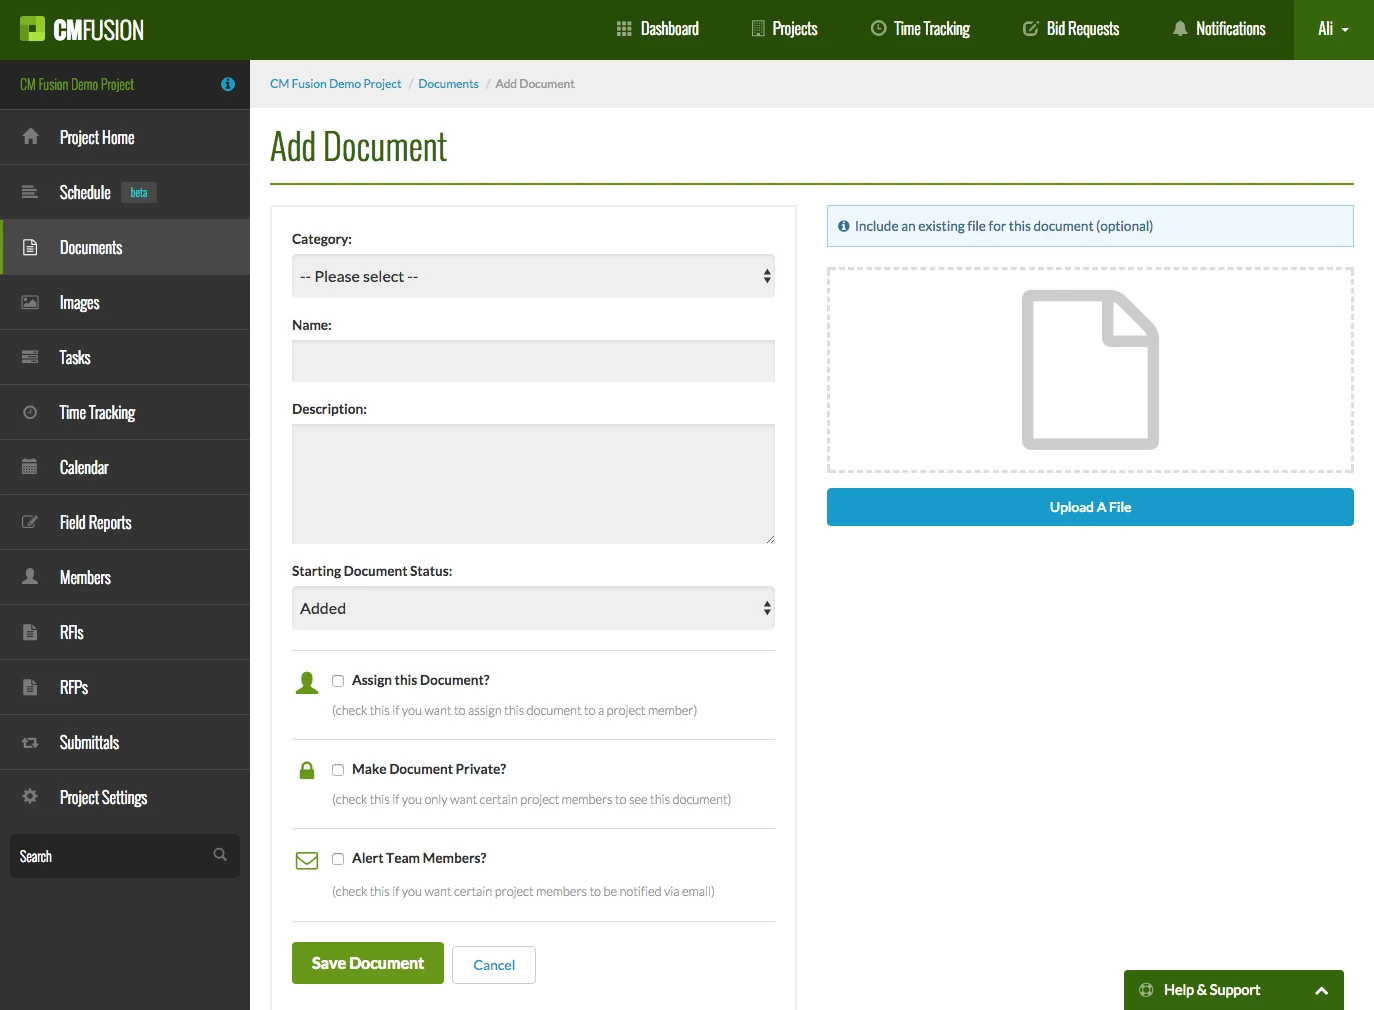
Then click "Save Document."
3) View Document
On the main Documents list, click which document category you saved the document in. In the example below, we will navigate to the Plans folder to see the documents in the Plans category.
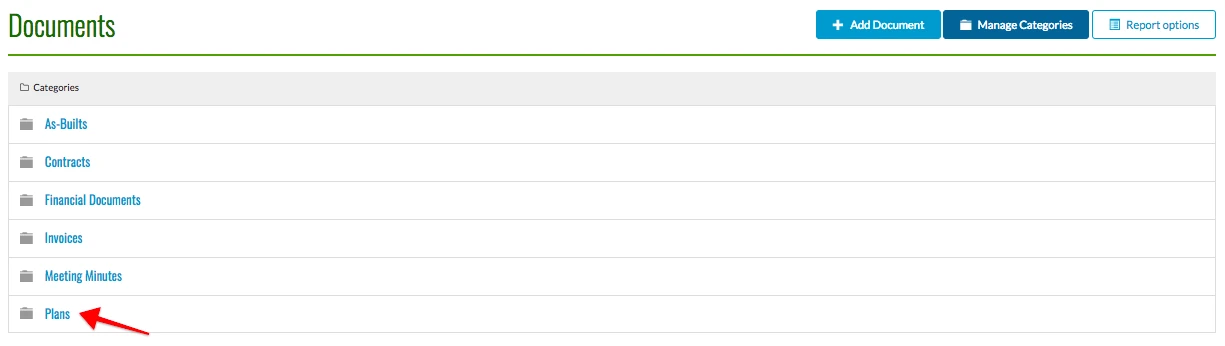
It should look similar to the screenshot below:

Try CM Fusion, risk free for 30 Days – Your first project is FREE!
If you are trying to figure out where to look now, our company CM Fusion offers a free version of Construction Project Management Software. Not to mention, our customers brag about it’s ease of use, so you should be able to sign up and start managing your projects in minutes.