Manage Project Permissions
Project permissions are used to control the parts of the project the project member has access to. Project permissions are initially set when the member is invited, but this is a tutorial on how to edit those permissions.
1. To start, select the Projects tab on the top menu.

2. This pulls up a list of your current projects. Select the project you want to edit.
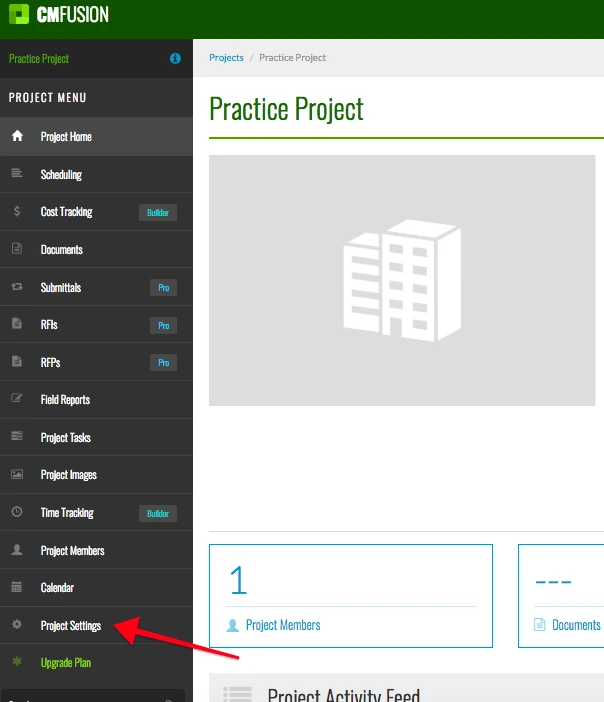
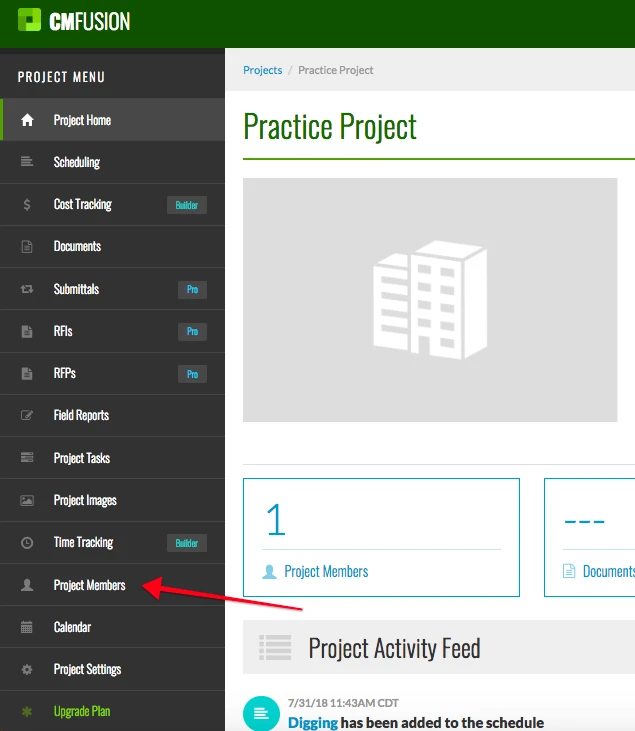
3. In the Project Menu in left margin, click the Project Settings tab.
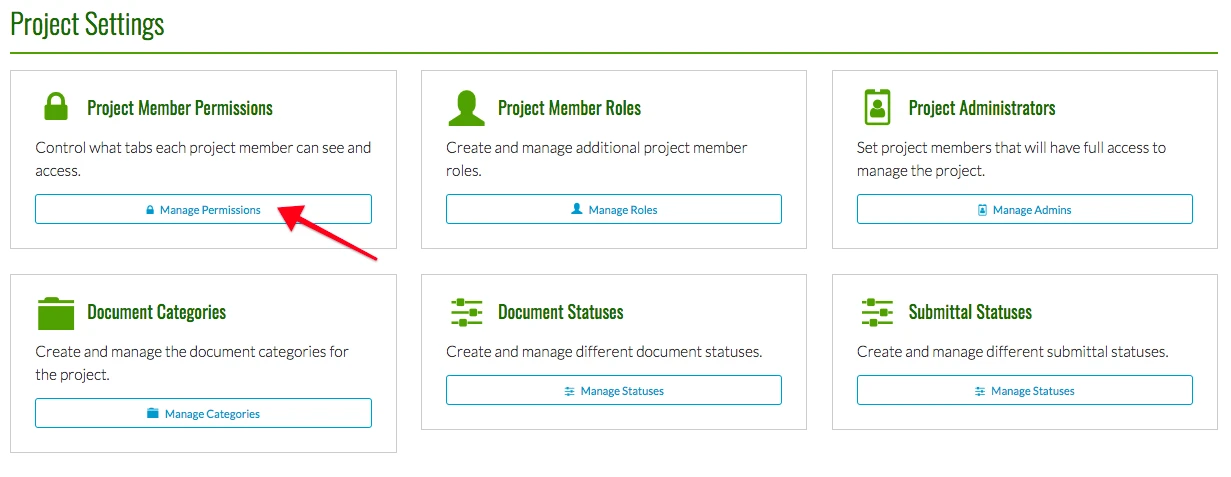
4. Next, click the blue box Manage Permissions in the Project Member Permissions section.
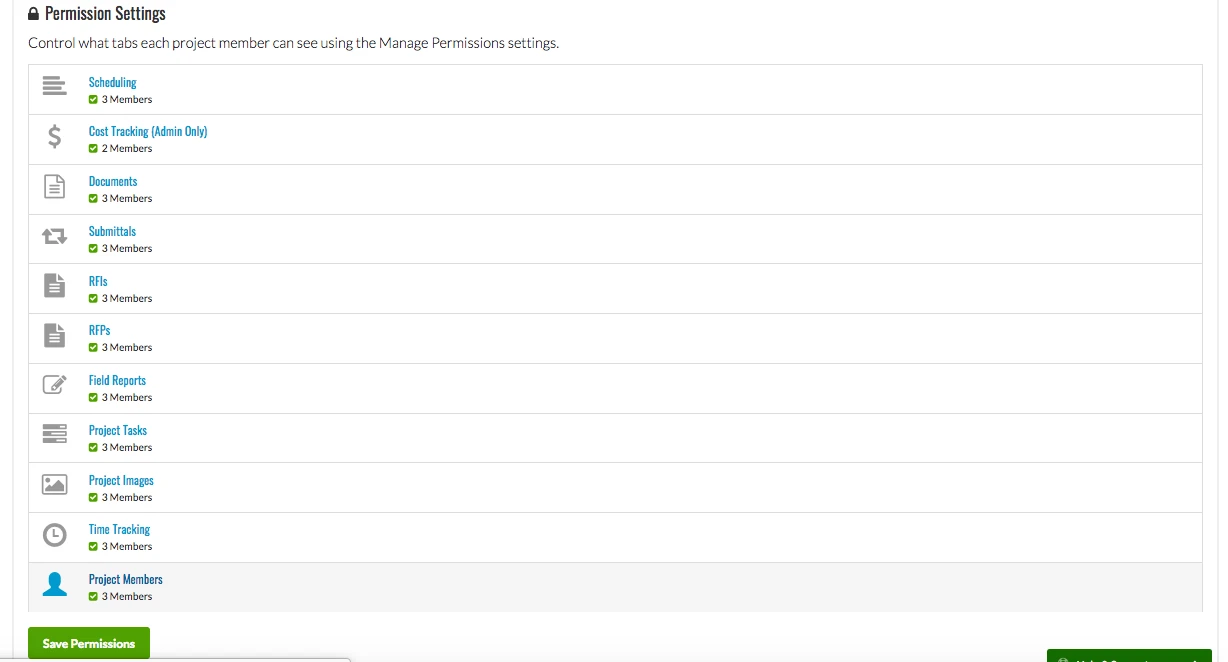
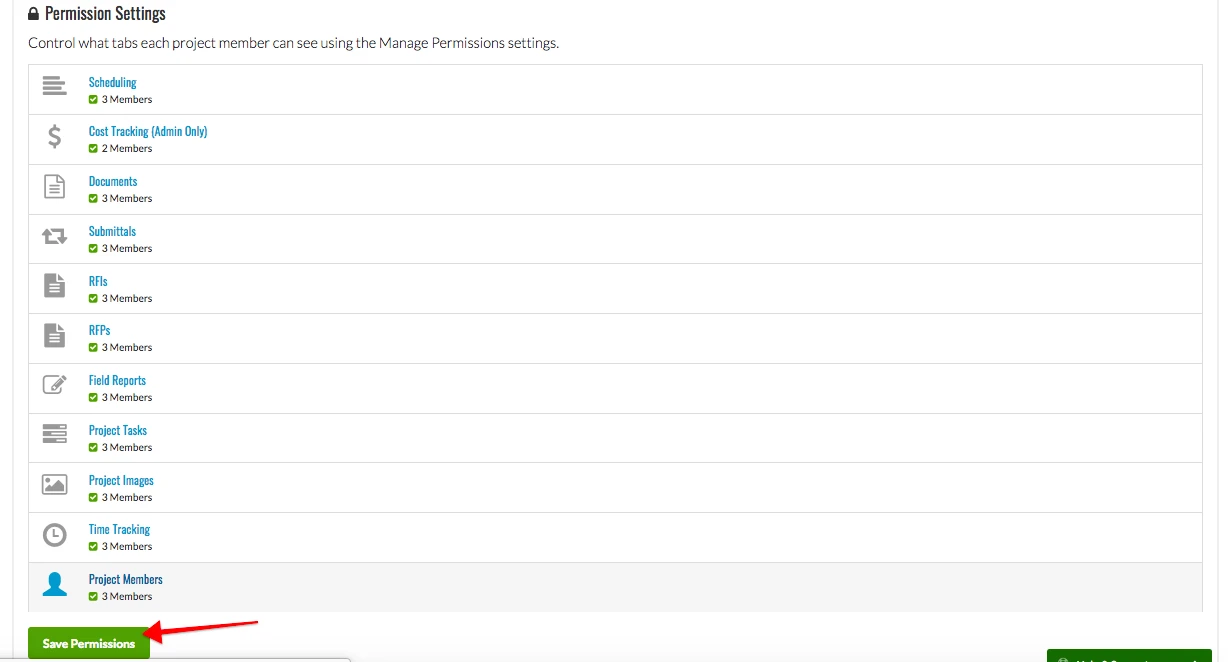
5. The following list of permission settings will appear. The number of members below the component name corresponds to the number of project members who currently have access to the functionality.
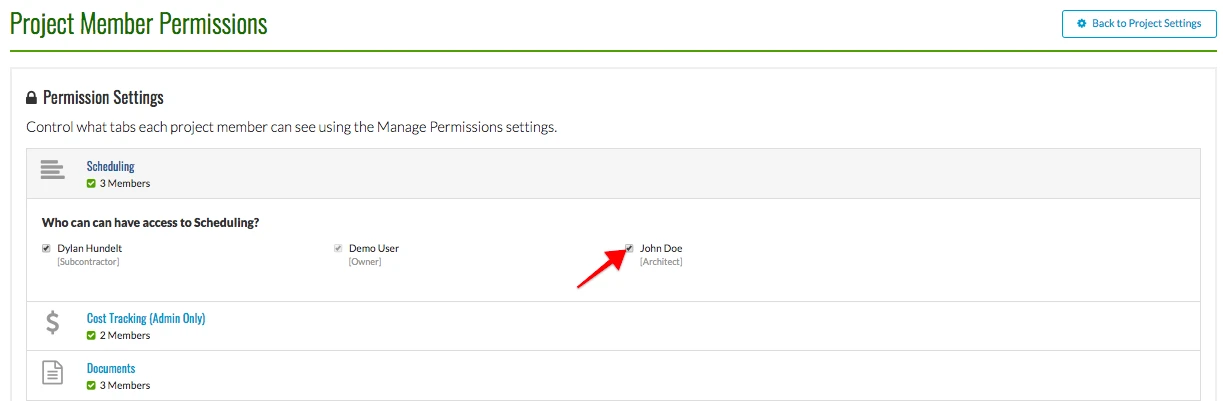
Click on any of the tabs to pull down a list of project members. To allow a member access to this part of the project, check the box next to their name. If you do not want them to have access, make sure the box is not checked. The following example shows what would it would look like if the schedule tab was clicked. The arrow is pointing to the box that needs to be checked to allow a person access to scheduling. Each tab will have its own specialized list. In this example, Demo User cannot be unchecked as it is the project owner.
6. When you are finished making your changes, click the Save Permissions button at the bottom.
7. That was one way to change project member permissions. There is another way to change permissions if you would rather change all the permissions for a specific user. Do the first two steps on this page this same, but then instead of clicking on Project Settings in step 3, go to Project Members just two tabs above it.
8. This opens up a list of all your project members. To alter their settings, click the gear icon on the far right next to their name to open up member settings.

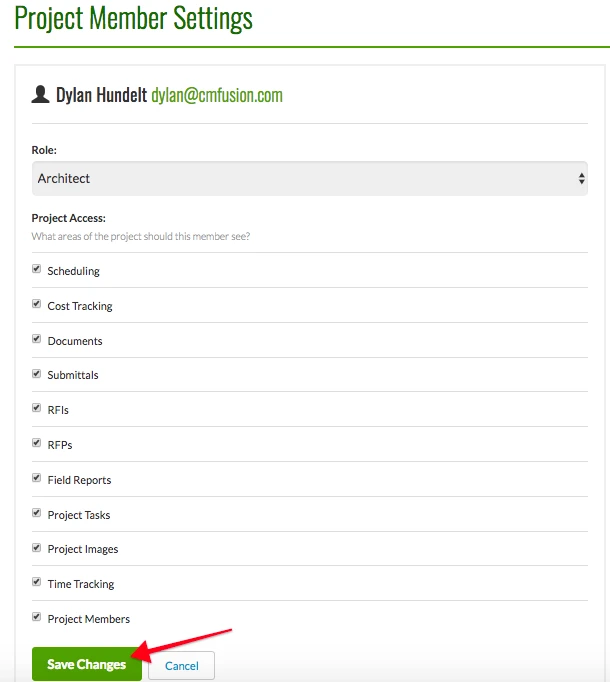
9. In the project member settings, you can change the member's role in the first bar. Click the arrows on the right to pull up options for their role. The rest of the options all deal with their access to the project. Check all the boxes for the categories you want this project member to see, or leave the box unmarked if you do not want them to view that section. When you are finished, click Save Changes at the bottom.
Try CM Fusion, risk free for 30 Days – Your first project is FREE!
If you are trying to figure out where to look now, our company CM Fusion offers a free version of Construction Project Management Software. Not to mention, our customers brag about it’s ease of use, so you should be able to sign up and start managing your projects in minutes.